Hydroponic greenhouses utilize water to grow crops. Vegetables and plants are in a growing medium like rock wool, foam, clay pellets, recycled foam, gravel, sawdust, coconut fiber, or peat; they receive nutrients through a feeder to facilitate growth.
The great advantage of using hydroponic greenhouse systems has everything to do with the fact that they hold better crops while using simple water-based techniques. Using hydroponics in the greenhouse allows for plants that grow faster than when grown in soil.
Plants don’t have to develop roots to find oxygen, water, and nutrients—consequently, better flowers and fruit sprout.
Moreover, the number of plants and vegetables produced increases significantly when using the hydroponic technique. Hydroponic techniques are often referred to as “sub-irrigation culture.”
Advantages of Hydroponic Gardening
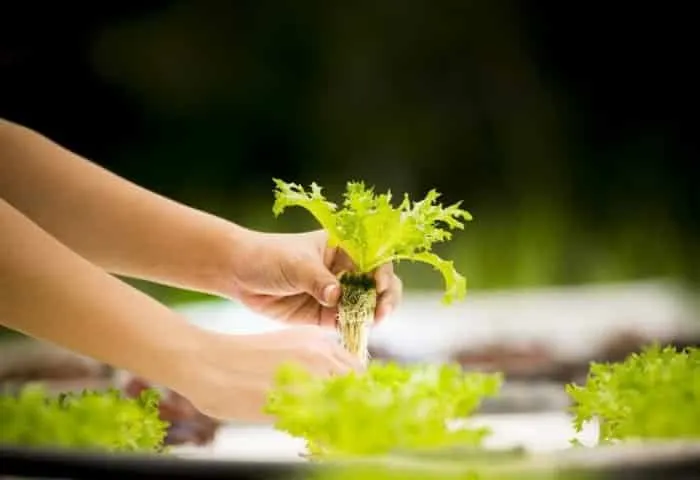
We’ve taken the liberty of listing all of the advantages of hydroponic gardening for people who do not live in areas where it’s possible to grow plants, vegetables, and fruits year-round:
1. Longer Growing Season
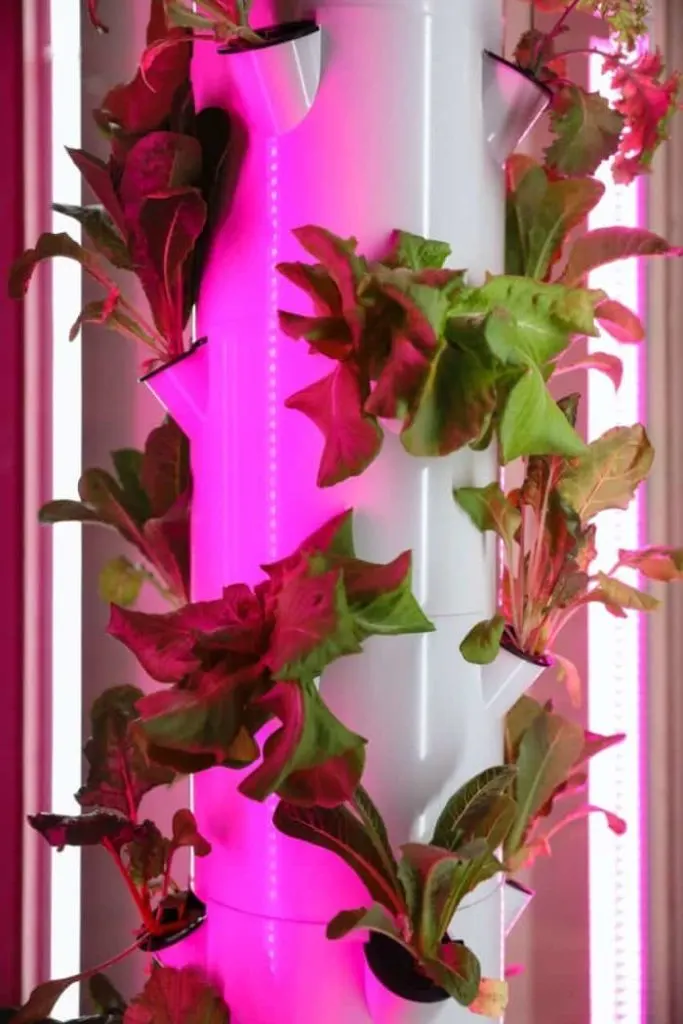
It’s no secret that colder climates with freezing winter temperatures and shorter days make plant growth all but impossible.
However, hydroponics systems allow plants to be grown all year round because the planter controls that light, nutrient supply, and temperature.
See Related: Best Insulation for a Greenhouse
2. Improved Growth
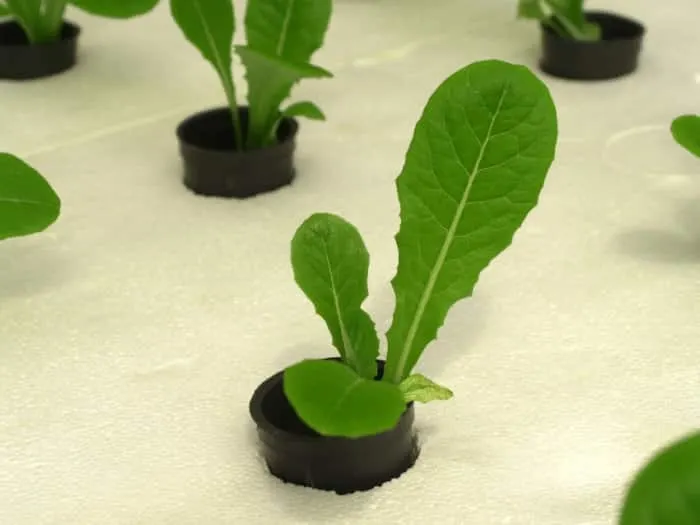
Higher-yielding plants and faster-growing plants usually happen when hydroponics systems are used. This is most likely because of increased oxygen levels inside the nutrient solution in conjunction with the environmental factors that the grower carefully controls.
When a plant’s oxygen levels rise, root growth occurs, and nutrient uptake is enhanced.
Additionally, the growing conditions are optimized in such a way as to place stress on the plants, which makes for a more abundant harvest.
3. More Plant Density
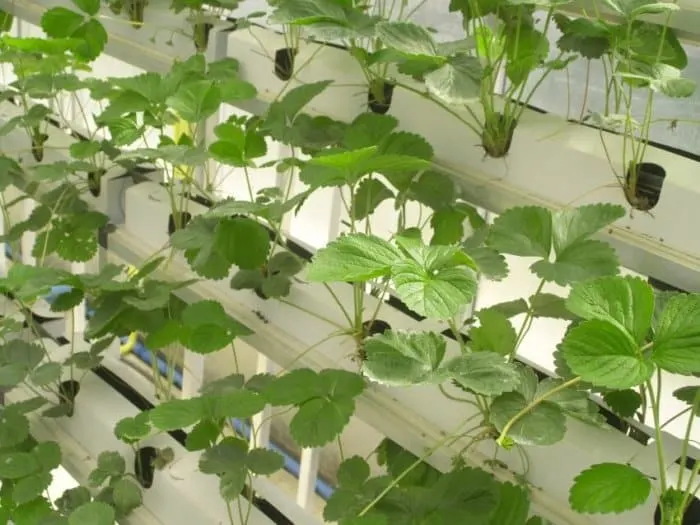
The plants grown in soil abide by a spacing guideline to give the plants equal opportunity to access the soil’s relatively limited supply of nutrients and water.
Hydroponics systems can deliver a more nutrient-rich solution directly to the root zone. As a result, plants can be grown in closer proximity to one another without competing for root space.
See Related: Best Glass Greenhouses
4. Grow Plants Anywhere
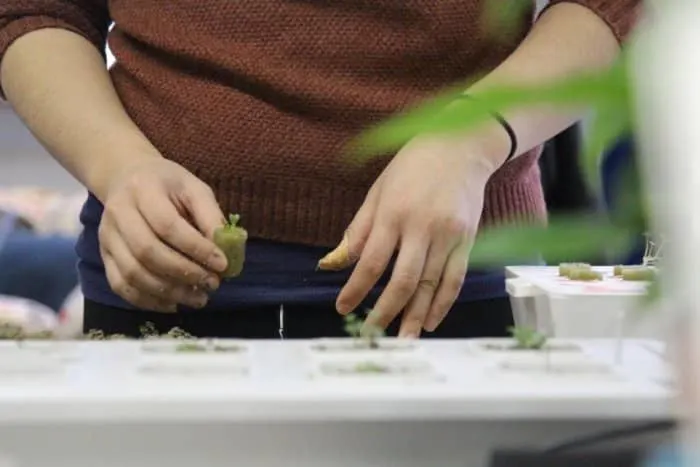
Hydroponics systems and their adaptability can’t be overstated. Unlike traditional gardens, which must be outdoors, You can usually incorporate hydroponics systems into homes no matter the location or size.
5. More Efficient Water Consumption
Although hydroponic systems are dependent primarily on the water to facilitate plant growth, these systems use 80 to 90 percent less water than plants grown in soil.
Traditional gardening requires a large amount of water to be placed into the ground to saturate the soil so that adequate water reaches the root zone. When water travels through the soil, most of it evaporates, and only a percentage goes to the root.
Water can reach the roots immediately with very little evaporation with hydroponics systems. Additionally, the nutrient solution is recirculated many times before being thrown out. This allows for even more efficient use of water.
6. Less Pests
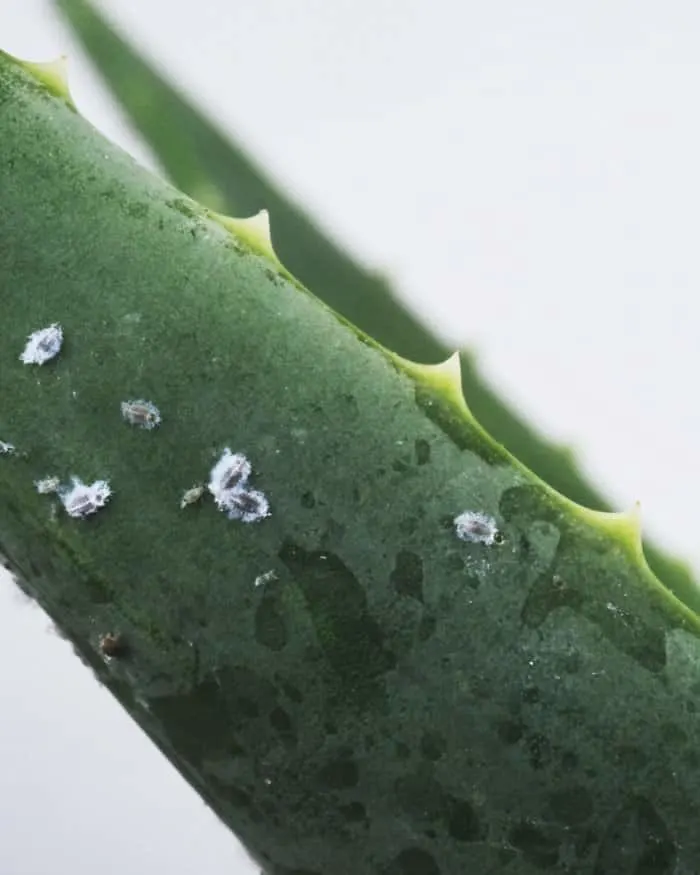
Thanks to the fact that hydroponics systems are indoor, insects and other pests aren’t much of a problem due to controlled entrances. Therefore, insects have a tougher time breaching the system and attacking plants.
Lastly, with no pests to worry about, you need very little to no pesticides.
What to Know Before You Build a Hydroponic Greenhouse
Here are the things you absolutely must have to have a hydroponic greenhouse. Perform the following:
- It would be best if you had a place in your yard where the sun shines regularly. You may have to cut down trees to achieve it. However, do not make a hydroponic greenhouse if you do not have a sunny spot. Your hydroponic greenhouse should receive direct sunlight for most of the day during all four seasons.
- The greenhouse needs to be close to your home, allowing you to hook running water and power to the location.
- Ventilation is quintessential to a hydroponic greenhouse. Exhaust fans and vents are vital elements of any greenhouse. You can add a thermostat to automate the system.
- Greenhouse gardening is not only valuable for northern gardeners; it has just as much utility with southern gardeners as well.
See Related: Hydroponics vs Aquaponics
How Does a Hydroponics System Work?
Though plant growth weaves together many metabolic processes, plants grow because of three main items primarily: sunlight, nutrients, and water.
Plants are anchored to the ground with traditional gardening, and the soil behaves as a reservoir for nutrients and water.
There is no need for the soil with hydroponics systems because of the nutrient-charged aqueous solution supplied directly to the roots to keep the plants hydrated and fed.
Additionally, you can supplement alternative lighting solutions to help facilitate better growth.
See Related: Easy Plant Propagation Techniques to Start Today
Supplementary Lighting
Natural light is a limited commodity; plants grown in a hydroponics system can receive supplemental light. By hanging artificial light above the plants manipulating its brightness, you can mimic the natural cycles of daylight and darkness required to grow.
Materials
These are the materials you’ll need to build a greenhouse hydroponic system. The parts can get costly to try to go to a gardening store to check for hydroponics for sale:
- Waste Pipes (4″): You can get these pipe pieces at any hardware store, like Home Depot. You can also get them at 10′ at the store, but they have an expanded bell on one side so that you can fit more than one pipe together.
You’ll have to trim that extra part off because it’ll be too long for what you need to do. They cost $8 to $9 apiece.
- Boards (2×4): These boards are for the frame, and how many you need will be contingent on how long the pipes you use to build your system are. For example, a hydroponic greenhouse that is 30″ tall and 10′ x 3′ would require four pieces of 2x4s (12). They cost $4 apiece.
- Pipe Ends: You have to get pipe ends to construct the end of every 4″ waste pipe in your system. You have to choose between long and short pipes, and the cost may play a factor. The ends can be between $12 to $15 if you can get hydroponic products on sale. Remember that you’ll need two ends per pipe.
- Flexible Coupling (4″ to 2 “): The purpose of couplings is to help connect the end of the 4″ pipe to the 2.”
- PVC Coupling (2″ to ¾” ): These couplings connect your 2″ pipes to the opening of the 3/4″ pipe.
- PVC Elbow (¾ “): You will use these to connect your PVC pipes.
- PVC Pipes (¾ “): You only need a couple of feet to connect the pile ends and the drainpipe at the base of the greenhouse hydroponic system. You can get close to 10′ for $2 to $3.
- Flexible Hose: The hose gets connected to the pp for your inlet piping. 1″ of tubing costs nearly $1.50 for each foot.
- Fittings: You need pipe fittings to ensure that the hose fits securely to the inlet pipe and the pump. Someone at the store should assist you if you tell them the setup of your system. The fittings cost between $5 to $10.
- Fountain Pump (Outdoor): The price for this can vary from pump to pump, and it mostly depends on your preferences. It just has to have enough power to get the water to the inlet from the ground and continuously maintain the water flow. For example, a 30″ fountain pump costs $90 (roughly). Estimate according to this measurement.
- Water Reservoir: Get a container with a lid, dark-colored; around 55 gallons is standard. You can check different prices on a website for a store like Home Depot. They cost about $25 for a reservoir this size.
- Hanger Strap: $3
- Deck Screws (2 ½”): $10
- Glue and PVC Primer– $7
See Related: Best Greenhouse Kits
Tools
You don’t have to buy these power tools, but it’ll make the process much simpler if you’re building a system from scratch or if you find hydroponics kits for sale:
- Miter Saw
- Hole Saw attachment for the drill (3″)
- Power Drill
- Ratcheting PVC Cutter
- Tape Measure
- Hand File
See Related: Best Greenhouses to Buy
How to Build Hydroponic Greenhouse Systems
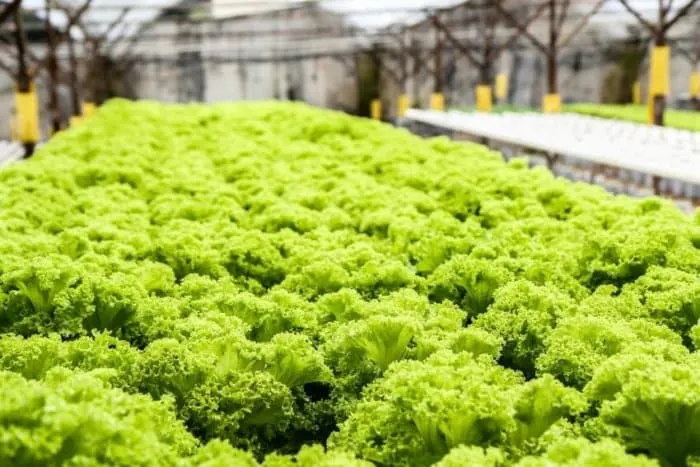
Note: Be sure to calculate all the costs of building your hydroponic greenhouse if you’re not interested in hydroponic greenhouse kits.
Step 1
First, you have to construct the frame. It should be a couple of inches shorter than the main pipes that will sit on top.
This factor is essential because you need a little space at the ends for your plumbing, and your frame shouldn’t get in the way. You might also consider using a 2×4 board for support in the middle of the frame.
Step 2
Whatever height you choose is based on how much space you have, but make sure it is all level.
To decide how wide it should be, figure out the number of 4″ pipes you’ll have in your greenhouse for hydroponics. Each of those will have a 2×4 between them, that’s the number you’re looking for.
An example is if you have seven pipes, which would equal 28.” Six boards between them with 4″ sides equals 24 inches. Add the two results together; in this case, (28+24) 32 inches is the width.
Step 3
The waste pipes that you bought will house your plants. You have to cut that extended bell we were talking about earlier. Ensure that you cut it even when you use it to fit the pipes with the fittings further into the process. Cut your pipes down to the appropriate length.
Step 4
You have to cut three-inch holes into your cups at this point. The power drill comes in handy. Draw a chalk line down the middle of the pipe on top. Next, measure the spots with about eight inches of space between the holes.
Step 5
Once every hole is in place, grab the hand file and file down the shavings around the edges of the holes. Blow them away so that they don’t get into the water.
See Related: Greenhouse Cost Guide: Cost to Build, Own, and Operate
Step 6
Attach the pipes to the frame you built. Use your hanger strap for the two pipes on the outside and fasten them securely to the frame. Don’t make it too tight, or it’ll change the shape of the pieces. For the rest of the pipes, put a short piece of a 2×4 on either end as a spacer.
Step 7
You can begin plumbing the pipe ends now that everything is connected to the frame. This step is where you bring the opening of the 4″ pipe end to the ¾” opening. That keeps close to one inch of water always at the base of the pipe for your plant roots to absorb.
Step 8
Try to connect the two by using a 2″ fitting for the 4″ pipe and connecting the 2″ fitting to the ¾” PVC bushing. You don’t need glue at this point when you use the fittings to hold things together because there are clamps on the fittings. It also allows for future modifications.
Step 9
At this step, you’ll want to connect all four of your pipes with the PVC pipe and the PVC elbows (¾”). Cut a small piece of the ¾” PVC pipe and stick it into your larger pipe, then attach the elbow.
Repeat this process with the two larger poles you want to connect, and then cut one small piece of PVC pipe to connect the elbows.
Step 10
Connect all of your pipes with the PVC pipe. To start the water flowing through the pipe from the fountain pump choose different-sized fittings from the ones you used before.
It’s hard to determine precisely what size outlet you’ll need for the pump because there isn’t a standard. That’s why it’s a better idea to go and ask for help at the store. It can range from ¼” to ½.” There are also other pieces that can inform you what you need.
Step 11
Connect your hose from the pipe to the pump. The attendant can also tell you what size fittings you need to fit your hose at either end securely.
Step 12
Remember that the water has to circulate and return to the reservoir. Use a ¾” PVC pipe with an elbow to connect it to the tank. Drill a few holes into the lid of the tank for the pipes that you’ll soon insert.
Step 13
Ensure that your system is balanced and that the water goes through without overflowing or backing up so that it doesn’t flood the space where the plants will sit.
Related Resources
